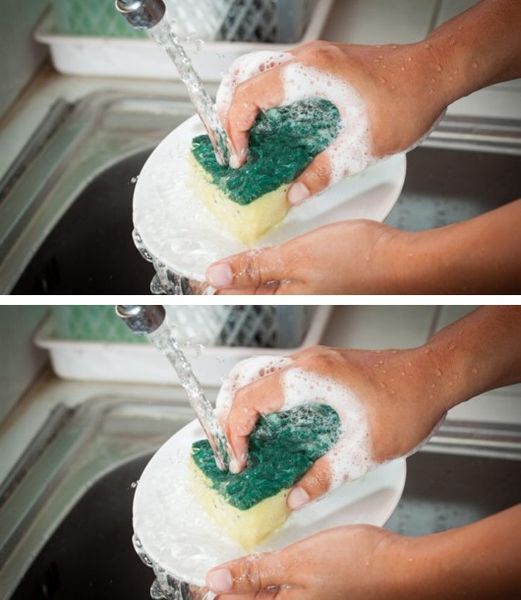
certain pathogens may also find a hospitable environment in your dish sponge, which is kept damp and often warm. The fact is that a sponge that’s used repeatedly on dirty dishes can serve as an efficient breeding ground for various unwanted microorganisms. Hence, understanding how to properly sanitize your dish sponge and knowing when to replace it can contribute significantly to maintaining a healthy kitchen environment.
Consider this: every time you wipe down a plate or scrub a pot with your sponge, you’re setting the stage for contamination. The food particles, moisture, and warmth create a perfect environment for bacteria to thrive. According to a study published in 2017 in the journal “Scientific Reports,” researchers found that sponges can harbor millions of bacteria per square centimeter. The average dish sponge can carry a harmful array of organisms, including E. coli, Salmonella, and Staphylococcus, which can lead to foodborne illnesses.
How Often Should You Replace Your Sponge?
Experts suggest that you replace your dish sponge every 2 to 3 weeks. This advice is especially crucial if your sponge shows any signs of wear and tear, such as tearing or an unpleasant odor. Certain signs indicate it’s time for a replacement:
- Foul Odor: If your sponge starts to smell bad, it’s time to toss it. An odor signifies bacterial growth that could be dangerous for your health.
- Visibly Dirty: Despite cleaning your sponge, if discolorations or dirt remain, it’s not doing its job.
- Physical Degradation: Rips, tears, and disintegrating material indicate that your sponge is no longer effective and is more likely to harbor bacteria.
- Usage Frequency: If you’re doing heavy dishwashing daily, consider replacing your sponge weekly.
Should You Sanitize Your Sponge?
Besides regular replacement, sanitizing your sponge is essential to reduce bacteria if you’re not ready to toss it out. Here are some expert-recommended methods to do this effectively:
1. Microwave Method:
One of the quickest ways to disinfect your sponge is by microwaving it. However, this method only works for sponges that do not contain metal. Here’s how to do it:
- Wet the sponge thoroughly (dry sponges can catch fire).
- Place the sponge on a microwave-safe plate.
- Microwave on high for 2 minutes.
- Let it stand for a few minutes before removing it, as it will be hot.
This method can kill up to 99% of bacteria.
2. Boiling Water:
Boiling your sponge in water is another effective way to sanitize it.
- Fill a pot with water and bring it to a boil.
- Place the sponge in the boiling water for 5 minutes.
- Allow it to cool before removing.
This method is highly effective and can also eliminate odors.
3. Bleach Solution:
For those who prefer chemical sanitization, a bleach solution can be a powerful alternative.
- Mix 1 tablespoon of bleach into a quart of water.
- Soak your sponge in the solution for 5 minutes.
- Rinse thoroughly with clean water.
Make certain to keep the sponge well-rinsed afterward to avoid any bleach residues that could contaminate your dishes.
4. Dishwasher:
If you’re washing dishes in the dishwasher, toss your sponge in as well. Most dishwashers run at high enough temperatures to disinfect it effectively. Just make sure it’s on the top rack to avoid any potential melting issues.
Additional Considerations for Sponge Hygiene
1. Dry Your Sponge: After each use, ensure your sponge is rung out and placed in an area where it can dry completely. A damp sponge is more likely to breed bacteria.
2. Rotate Sponges: If you regularly cook or clean a lot, consider designating one sponge for dishwashing and another for cleaning services. This way, you can reduce cross-contamination between dirty dishes and kitchen counters.
3. Use Alternative Cleaning Tools: If you’re concerned about sponge hygiene, consider using alternatives such as dishcloths, reusable silicone scrubbers, or disposable cleaning wipes. Each option presents its own pros and cons, but they may fit various cleaning niches better and can be washed, thus limiting bacterial loads.
4. Keep Your Sink Clean: The area where you store your sponge can also contribute to its bacteria load. Ensure that your sink is frequently cleaned to minimize germ transfer as sponges often sit on the sink’s edge, collecting even more bacteria than they initially started with.
Conclusion: Prioritize Your Kitchen Hygiene
Ultimately, understanding how to sanitize your dish sponge and recognizing the appropriate frequency for replacement is a vital component of kitchen hygiene. By being diligent in these practices, you not only keep your plates and pots clean but also actively protect your family from potential foodborne illnesses.
Remember that a simple sponge, often overlooked in kitchen cleanliness routines, can be one of your most potent tools for hygiene. Take care of it, and it will take care of you. Whether you choose to microwave, boil, bleach, or replace, make sponge sanitation a consistent habit to maintain a healthy and safe cooking environment!


