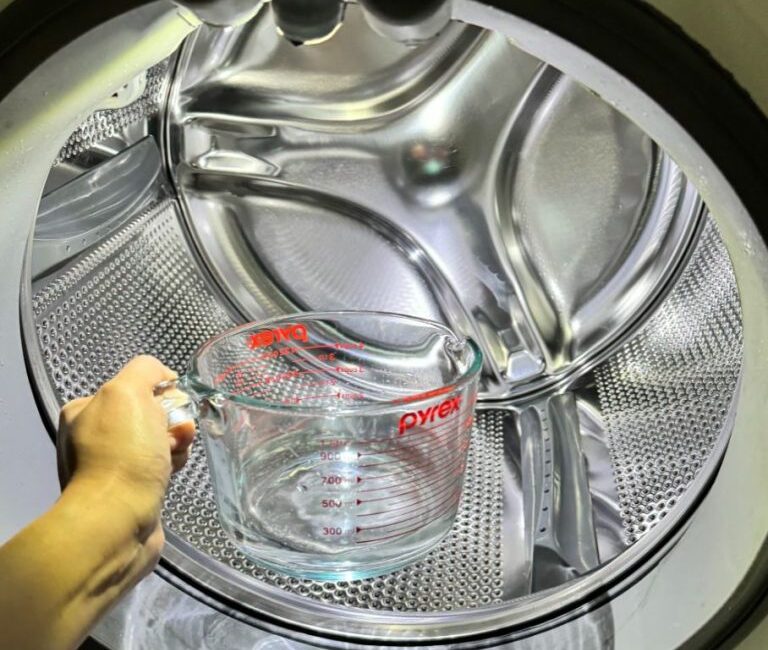
Keeping your front-loading washing machine clean is not just about maintaining its shiny exterior or preventing unpleasant odors. It’s an essential step to ensure its optimal functionality and longevity. Washing machines, especially front-loaders, have a notable tendency to accumulate soap scum, mold, and other residues that can adversely affect performance and leave your clothes feeling less than fresh. However, cleaning your machine does not have to be a laborious process. Thanks to a few simple household items and a systematic approach, you can tackle this task effortlessly.
Understanding the Need for Regular Cleaning
When possible, users tend to overlook the interior cleanliness of their washing machines, assuming that water and detergent alone will suffice. However, this is a misconception. If you’ve noticed that your clothes are still coming out of the washer with lingering odors or stains, it’s time for a deep clean. Here’s why:
1. Avoiding Mold and Mildew Growth
Front-loading washers create a moist environment, which is perfect for mold and mildew to thrive. They remain sealed during cycles, trapping humidity that can lead to the growth of bacteria and mold around the rubber door seals.
2. Enhancing Performance
Soap scum and residue from detergents can build up in various parts of your machine, disrupting its performance. A clogged drainage system can lead to malfunctions and unnecessary wear and tear.
3. Protecting Your Clothing
A dirty washing machine can transfer grime and residues back onto your freshly laundered clothing, leading to discoloration or even potential skin irritation.
4. Increasing Longevity
Regular maintenance not only preserves the functionality of your washing machine but also extends its lifespan. This means fewer repairs and replacements, saving you time and money in the long run.
In this article, we’ll guide you through a straightforward cleaning process using just a few household items that you probably already own. By following this guide, you can keep your washing machine running smoothly and make laundry day a more pleasant experience.
Materials Needed for Cleaning
To give your washing machine the thorough clean it deserves, gather the following items:
- White Vinegar: A natural disinfectant and deodorizer, white vinegar helps to break down stubborn residues and prevents mold growth.
- Baking Soda: This natural abrasive is excellent for scrubbing away built-up stains and odors while being gentle on surfaces.
- Microfiber Cloths: Ideal for wiping down surfaces, microfiber cloths will help you reach those tricky spots without leaving lint behind.
- An Old Toothbrush or Small Cleaning Brush: Perfect for scrubbing tight spaces and crevices, a toothbrush can eliminate buildup around seals and detergent dispensers.
- Spray Bottle (Optional): If you want to easily apply your cleaning solutions, a spray bottle can come in handy.
- Gloves (Optional): If you have sensitive skin, consider wearing gloves to protect your hands from the cleaning solutions.
Step-by-Step Cleaning Guide
Now that you have your materials ready, let’s dive into the cleaning process. This guide is divided into several steps to make it as easy to follow as possible.
Step 1: Preparation
Before you start the cleaning process, it’s crucial to switch off and unplug your washing machine. This adds an extra layer of safety while working. Gather all the materials and ensure that the area around the machine is clear.
Step 2: Clean the Gasket
The rubber door seal (gasket) is often the dirtiest part of a front-loading washer. It’s where most of the buildup occurs.
- Put on your gloves (if using) and inspect the gasket for any visible mold or debris.
- Using an old toothbrush or small cleaning brush, apply a mixture of equal parts water and white vinegar to the gasket area.
- Scrub gently but thoroughly, ensuring to reach into the crevices where dirt tends to accumulate.
- Once clean, wipe away any residue using a microfiber cloth.
Step 3: Clean the Dispenser Drawer
The detergent and fabric softener dispenser can also be a hotspot for mold and buildup.
- Remove the dispenser drawer from the machine. Soak it in a mixture of hot water and vinegar for about 30 minutes to help loosen any built-up residues.
- After soaking, scrub it using a toothbrush or small brush before rinsing it off thoroughly and letting it air dry.
Step 4: Run a Cleaning Cycle
Now it’s time to give your washing machine a thorough wash.
- Pour two cups of white vinegar directly into the drum of the machine.
- If you have any baking soda on hand, a quarter cup can be added to the detergent dispenser.
- Set your machine to the hottest setting and run a complete cycle. This hot wash will help kill any lingering mold and disinfect the interior of the washer.
- The vinegar will also help eliminate odors while softening any mineral deposits.
Step 5: Wipe Down the Drum
After the cycle has completed, take a moment to wipe down the inside of the drum, which may still contain traces of detergent or residues.
- Use a microfiber cloth to wipe the drum, paying special attention to the edges.
- If there are particularly stubborn patches, dampen the cloth with a vinegar solution for added scrubbing power.
Step 6: Final Touches
Don’t forget the exterior of the washing machine.
- Wipe down the front panel and control knobs using a microfiber cloth soaked in a gentle cleaning solution.
- Check and wipe down the area where the machine sits. Dust and grime can accumulate around the machine and contribute to unpleasant odors.
Step 7: Leave the Door Open
After finishing the cleaning, make it a habit to leave the washing machine door ajar. This allows air circulation, preventing moisture buildup that can lead to mold and mildew growth. It’s a small change with a considerable impact on keeping your washer in optimal condition.
Additional Maintenance Tips
While the detailed cleaning process outlined above will significantly help in keeping your washing machine in excellent health, consider these additional maintenance tips for long-term care:
- Use the Right Detergent: Always opt for HE (high-efficiency) detergents in front-loading machines, as regular detergents can lead to excessive sudsing and residue build-up.
- Don’t Overload: Overloading can lead to increased wear and can also result in ineffective cleaning. Laundry loads should be balanced for optimal performance.
- Inspect Hoses Regularly: Keep an eye on the hoses for signs of wear and tear. If you see kinks or leaks, it may be time for a replacement.
- Clean Regularly: Establish a cleaning routine—many experts recommend a thorough clean at least once a month, especially if you do frequent laundry.
- Check the Filter: Some washers have a filter that requires periodic cleaning to prevent blockages.
Conclusion
By following the steps outlined above, you’ll not only enhance the performance of your front-loading washing machine but also prolong its lifespan, making laundry days more efficient and enjoyable. This cleaning hack may seem simple, but it changes everything about how you approach washing laundry. No longer will you dread that musty smell or the thought of a malfunctioning machine—your laundry day can be worry-free, all thanks to the little efforts you put into maintaining your washer.
And remember: Life just got easier! So, roll up your sleeves, gather those materials, and take back control of your laundry routine today. Embrace the simplicity of proper machine care and enjoy fresher, cleaner clothes with every wash.


