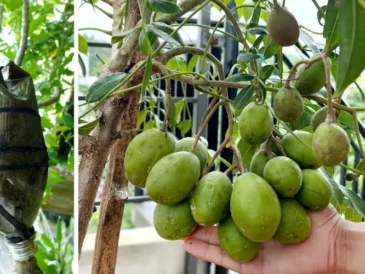
Mulberry trees, with their sweet and juicy fruits, are a delightful addition to any garden. But what if you lack outdoor space? Believe it or not, with a little patience and the right approach, you can cultivate a mulberry tree indoors and eventually enjoy homegrown fruit! Here’s a guide to take you from seed to juicy mulberry:
The Seedy Beginning:
- Harvesting Seeds: The best time to harvest mulberry seeds is when the fruits are fully ripe and have begun to soften. Mash the fruit and separate the seeds from the pulp. Rinse the seeds thoroughly and allow them to dry completely on a paper towel for a few days.
- Stratification: To improve germination rates, mulberry seeds benefit from a cold period called stratification. Place the dried seeds in a sealed plastic bag with moist (not soaking) paper towels and refrigerate them for 2-3 months.
Sprouting Hope:
- Planting Time: After stratification, prepare your pots. Choose well-draining containers with holes at least 6 inches deep. Fill them with a high-quality, well-draining potting mix.
- Sowing the Seeds: Sow your mulberry seeds about ½ inch deep and cover lightly with soil. Water gently and keep the soil consistently moist but not soggy.
- Patience is Key: Germination can take anywhere from 2-4 weeks, so be patient! Keep the pots in a warm location (around 70°F) with bright, indirect sunlight.
From Seedling to Sapling:
- Welcome, Sprouts!: Once seedlings emerge, thin them out to the strongest one per pot. Continue providing bright, indirect sunlight and consistent moisture.
- Potting Up: As your mulberry sapling grows, it will eventually need a larger pot. Repot it into a container at least 12 inches in diameter when the roots outgrow the current pot. Use fresh potting mix and ensure proper drainage.
Indoor Mulberry Care:
Page 2 for more
Pages: 1 2