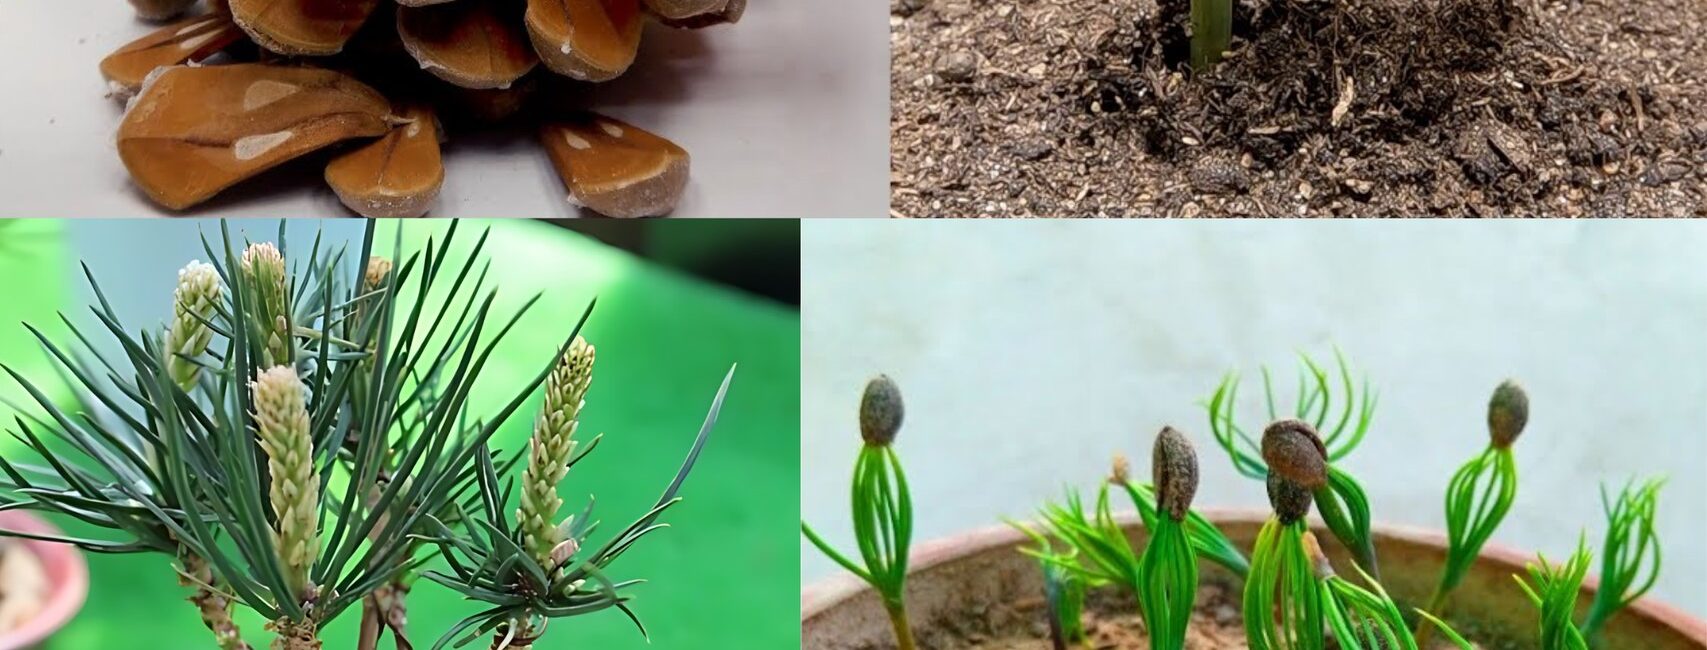
Pine trees, with their majestic stature and evergreen beauty, are a captivating addition to any landscape. But did you know you can cultivate your own pine tree from a humble pine cone? It’s a rewarding project that requires patience and a touch of green magic. Here’s a comprehensive guide to nurturing a pine from a seed all the way to a sapling.
The Seed Within: Extracting from the Cone
- Cone Collection: The ideal time to gather pine cones for seed extraction is in the fall or early winter, when the cones are mature and begin to dry out. Look for cones that have begun to open slightly, revealing the seeds tucked within.
- Drying and Extraction: Once collected, place the cones in a paper bag or cardboard box in a warm, dry location. Over a few weeks, the heat will encourage the cones to open further, releasing the seeds. Gently shake the cones to dislodge the seeds, separating them from any remaining debris.
Tip: Pine cones from different species may require slightly different drying times. Research the specific variety of pine cone you have for optimal results.
Preparing for Growth: Seed Stratification
Pine seeds have a built-in dormancy period, requiring a cold spell to simulate winter conditions and trigger germination. This process is called stratification. Here’s how to achieve it:
- Moisturizing the Seeds: Place the extracted pine seeds in a container and cover them with damp (not soaking) sand or sphagnum moss. Ensure everything is moistened evenly.
- Cold Treatment: Store the container with the seeds in your refrigerator for 6-8 weeks. This mimics the natural cold period pines experience in winter.
- Monitoring Moisture: Check the container periodically during stratification. If the sand or moss feels dry, lightly mist it with water to maintain moisture.
Turn to Page 2 to Discover More
Pages: 1 2


