Instructions:
- Heat the Milk:
Pour the milk into your large pot and heat it over medium heat. Keep a watchful eye and stir occasionally to prevent scorching. You want the milk to be hot but not boiling (around 180°F or 82°C).
- Curdle the Milk:
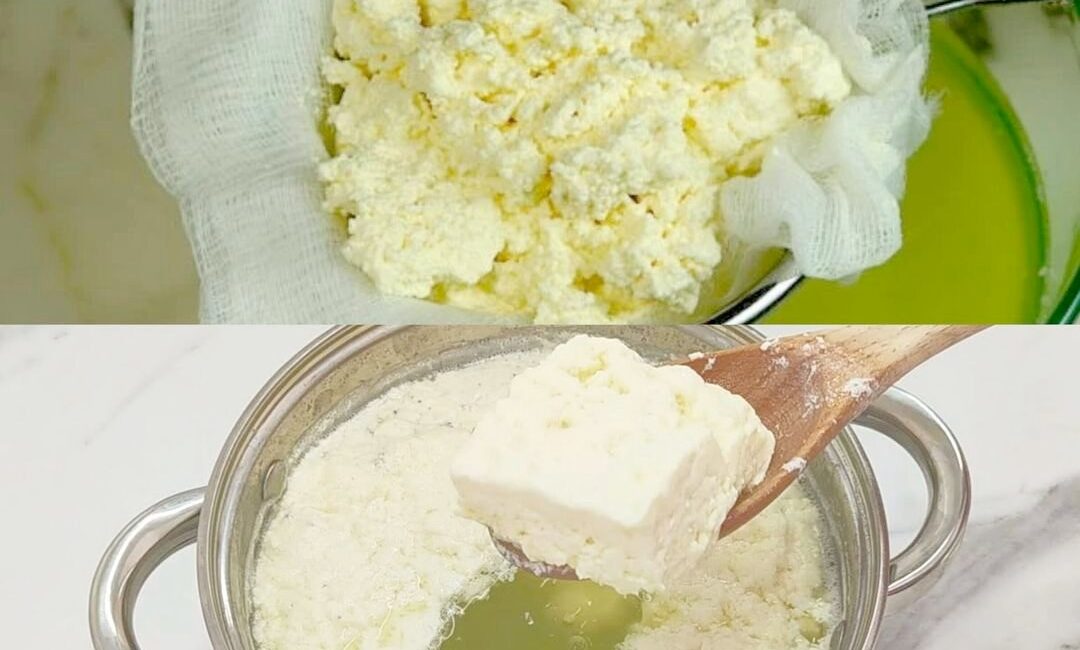
Once the milk is hot, slowly add the vinegar or lemon juice while whisking continuously. You’ll see the milk begin to curdle and separate into white curds (cheese) and yellowish whey (liquid).
- Let it Sit:
Remove the pot from the heat and let the mixture sit for 5-10 minutes. The curds will continue to separate from the whey.
- Strain the Curds:
Line your strainer with cheesecloth or a thin dish towel set over a bowl. Carefully pour the mixture into the strainer, allowing the whey to drain.
- Rinse (optional):
For a milder cheese flavor, you can rinse the curds under cool running water for a few minutes. This removes some of the whey and acidity.
- Season and Shape (optional):
Gently transfer the curds to a clean bowl. At this point, you can add salt to taste and any additional flavorings you like (fresh herbs, spices, etc.).
For a softer cheese, simply leave the curds in the bowl. For a firmer cheese, gather the cheesecloth or dish towel around the curds and gently squeeze out any remaining whey. You can even shape the cheese into a ball or log for easier slicing.
- Chill and Enjoy:
Refrigerate your homemade cheese for at least 30 minutes to allow it to firm up completely.
Tips:
- Use whole milk for the richest flavor and best results.
- Experiment with different types of vinegar or lemon juice to see which flavor profile you prefer.
- You can use your homemade cheese in a variety of ways – enjoy it on its own, crumble it over salads, melt it in sandwiches, or use it in pasta dishes.
- This cheese will keep for up to a week in the refrigerator.
So ditch the overpriced cheese and impress your friends and family with your newfound cheesemaking skills! This quick and easy recipe proves that delicious homemade cheese is just minutes away.


