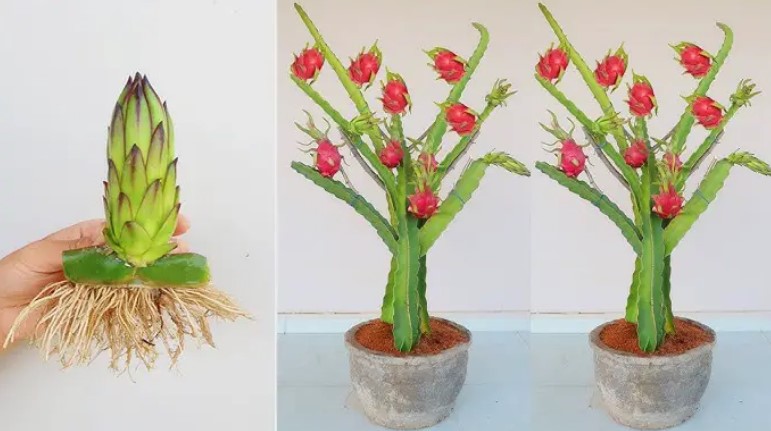
Dragon fruit, also known as pitaya, is a tropical fruit that grows on the Hylocereus cactus. Among its various varieties, the purple dragon fruit (Hylocereus costaricensis) stands out with its vibrant color and sweet, refreshing taste. Growing purple dragon fruit from cuttings is an excellent way for beginners to start their journey into fruit gardening. Here’s a detailed guide on how to grow purple dragon fruit from cuttings successfully:
Step 1: Obtaining and Preparing the Cutting
- Selecting a Cutting:
- Choose a healthy cutting from a mature purple dragon fruit plant. The cutting should ideally be about 12-18 inches long and taken from a disease-free plant.
- Allowing the Cutting to Callus:
- After obtaining the cutting, set it aside in a dry, shaded area for about 3-7 days to allow the cut end to callus. This process helps prevent rotting when planted.
Step 2: Planting the Cutting
- Choosing the Pot:
- Select a pot that is slightly larger than the cutting. Ensure the pot has drainage holes at the bottom to prevent waterlogging, as dragon fruit plants are susceptible to root rot.
- Preparing the Potting Mix:
- Use a well-draining potting mix suitable for cacti and succulents. You can enhance drainage by adding perlite or coarse sand to the mix.
- Planting the Cutting:
- Fill the pot with the prepared potting mix, leaving enough space to bury the cutting about 2-3 inches deep.
- Insert the cutting into the soil, ensuring that the bottom 2-3 segments (nodes) are buried. These nodes are where roots will emerge.
- Firmly pack the soil around the cutting to provide stability.
Step 3: Initial Care
- Watering:
- Water the cutting lightly after planting to settle the soil around it. Avoid overwatering, as excessive moisture can lead to rotting.
- Water sparingly in the following weeks, keeping the soil slightly moist but not soggy.
- Placement:
- Place the pot in a warm, sunny location where the cutting can receive 6-8 hours of sunlight daily. Dragon fruit plants thrive in full sun and warmth.
Step 4: Supporting Growth
TOCONTINUE READING SEE NEXT PAGE
Pages: 1 2


